That first freshly cut loaf is always tempting. It looks finished, smells beautiful, and feels like the hard part is over. But if you use cold process soap too soon, the bar rarely shows its best side.
Curing is where a good soap becomes a truly satisfying one – harder, milder, longer-lasting, and more balanced on the skin. If you have been wondering how to cure cold process soap properly, the answer is part patience, part environment, and part understanding what the bar is doing over time.
How to cure cold process soap properly
Cold process soap is safe to unmould and cut well before it is at its peak. That can confuse beginners. A bar may look ready after a day or two, yet still need several weeks before it performs as intended.
In simple terms, curing is the period after the soap is made and cut, when excess water gradually evaporates and the bar becomes firmer and gentler in use. Saponification largely happens early on, but the cure changes the finished feel of the soap in a very noticeable way.
For most cold process soaps, a cure of four to six weeks is a sensible baseline. Some recipes benefit from longer. Bars high in olive oil often improve with a longer rest, sometimes eight weeks or more. Recipes with a good balance of harder fats, such as tallow, can cure into a beautifully firm bar with creamy lather in that same four to six week window, though even these can continue improving beyond it.
That is the first trade-off to understand. A shorter cure gets soap into use sooner. A longer cure usually gives you a better bar.
What curing actually does
People often talk about curing as though it is one single event. It is not. Several things are happening at once.
Water is slowly leaving the bar. As this happens, the soap becomes harder and less likely to turn soft or mushy at the sink. That means it lasts longer between uses and stands up better in a busy household.
The lather also changes. A very fresh bar can feel slimier or less stable. Given time, bubbles tend to become creamier, more consistent, and easier to build.
Then there is mildness. Well-made soap should always be made with safety and balance in mind, but a cured bar often feels calmer and more comfortable on the skin than one used too early. For people with dry or sensitive skin, that difference matters.
This is one reason traditional soapmaking still holds its place. Slow methods ask more of the maker, but they reward patience with a bar that feels more complete.
How long should you cure cold process soap?
If you want the straightforward answer to how to cure cold process soap, start with four to six weeks in a suitable space. That works for many recipes.
Still, exact timing depends on your ingredients, water amount, bar size, and room conditions. A soap made with a full water recipe may need more time than one made with a water discount. Large chunky bars take longer than slimmer cuts. Humid weather can slow everything down.
Recipe choice matters too. Tallow-based soaps tend to harden well and cure into dense, long-lasting bars. That is one reason they remain so respected in traditional soapmaking. They offer solidity, creamy lather, and a skin feel many people find comforting, particularly when the recipe is designed for real dryness rather than novelty.
By contrast, a recipe high in soft oils may still feel a little tender at four weeks. It may not be wrong to use it then, but it might not be at its best. If you can wait, wait.
The best place to cure soap
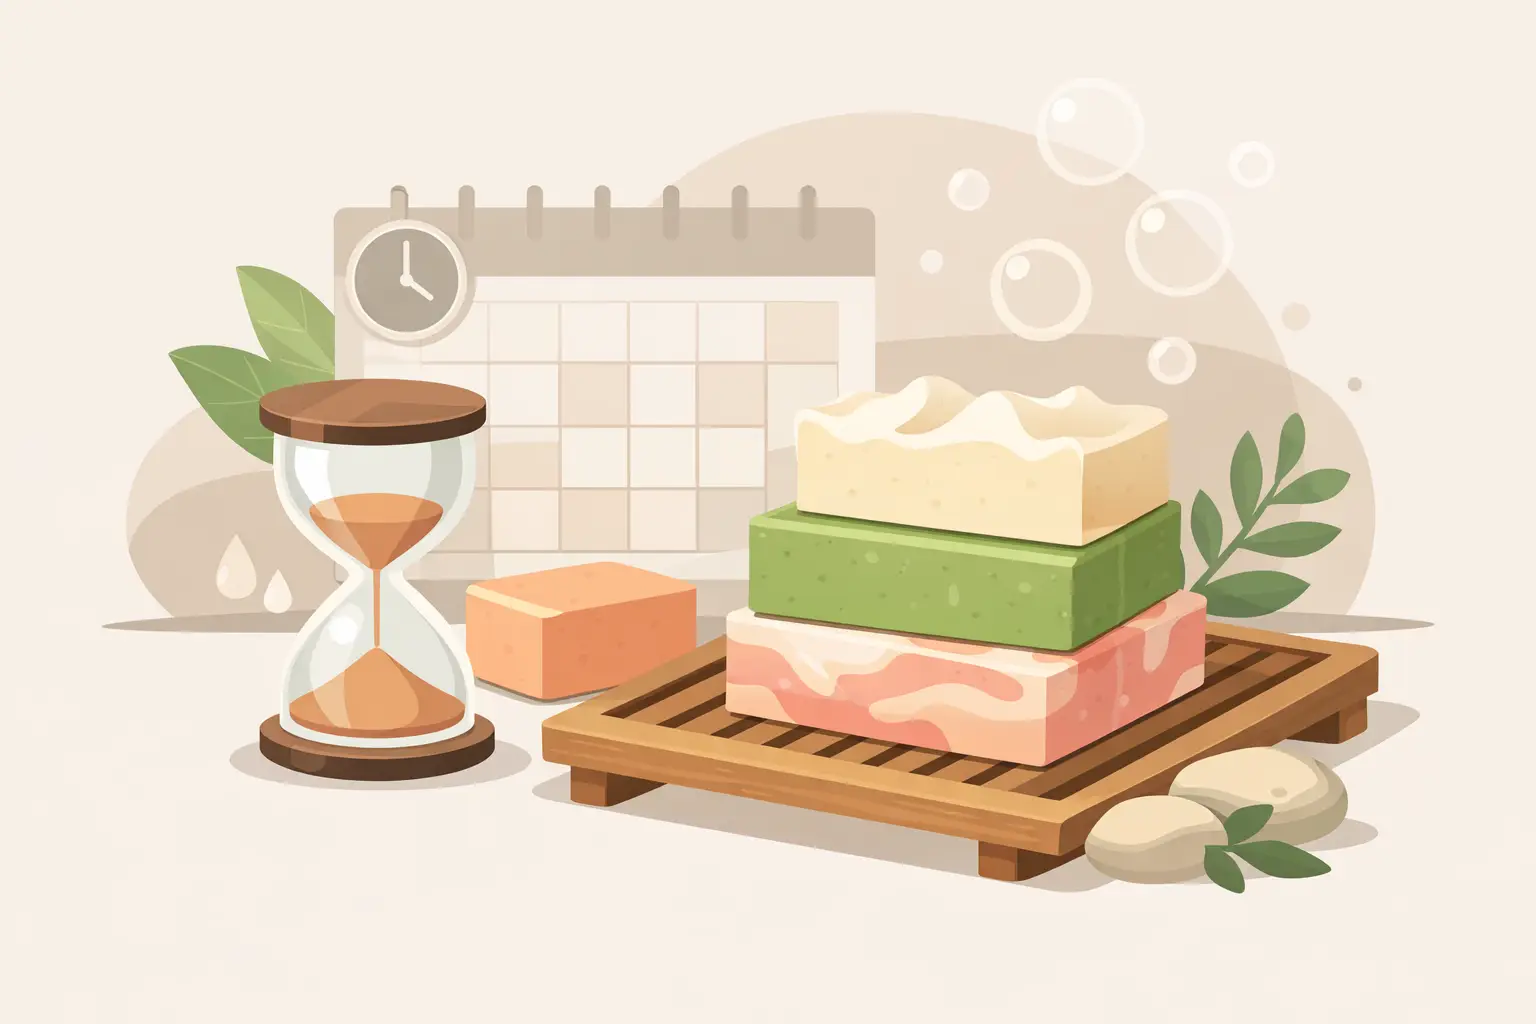
Soap cures best in a cool, dry, well-ventilated space out of direct sunlight. Think steady air flow, not heat blasting at the bars.
A shelf, rack, or tray lined with breathable material works well. The bars should not be stacked tightly or pressed together. Give them space on all sides so air can move around them. If one side is always resting flat, turn the bars every few days at the start, then once a week if needed.
Direct sun is not helpful. It can fade natural colour, affect essential oil scent, and warm the bars unevenly. Very damp rooms are unhelpful too. If the air is heavy with moisture, the soap will struggle to lose water at a proper pace.
There is also no need to refrigerate, wrap, or seal curing soap in containers. Fresh air is part of the process.
A simple curing routine that works
Once your soap is ready to unmould, cut it into bars and place them on a curing rack or open shelf. Leave a small gap between each bar. If you have made a larger batch, label it with the make date and recipe. It sounds basic, but it saves second-guessing later.
For the first week or two, check the bars now and then. Turn them gently if needed. After that, leave them alone and let time do its work.
You do not need elaborate equipment. What matters most is consistency. A calm, dry room and enough patience will usually do more for your soap than any shortcut.
If you make soap regularly, it helps to work on a rolling schedule. Make one batch while another cures. That way you are less tempted to use bars before they are ready.
Signs your cold process soap is cured
A cured bar usually feels noticeably firmer than it did at cutting. It will be lighter in weight because some of its water has evaporated. The surface may look a little more polished and settled. In use, it should hold its shape well and not melt away quickly in the soap dish.
Lather is another clue. A properly cured bar often gives a richer, more dependable wash, rather than a thin or tacky foam.
Some makers weigh a bar when it is cut and then weigh it weekly until the number stabilises. That is a useful method if you want a more measured approach. If the weight is no longer dropping much, the cure is largely complete.
Still, your hands will tell you plenty. If the bar feels hard, lasts well, and gives a pleasant wash, you are in the right place.
Mistakes that can spoil the cure
The most common mistake is simple impatience. Fresh soap can look ready long before it performs well. Using it too early usually means a softer bar, shorter life, and a less refined skin feel.
Another issue is poor air circulation. If bars are packed too closely, stored in sealed boxes, or left in a damp utility room, curing slows down.
Too much heat can also cause problems. Trying to force the process with a radiator or airing cupboard may seem sensible, but uneven warmth can affect texture, scent, and appearance. Slow is better.
And do keep the bars away from excess humidity once they are cured as well. Handmade soap continues to respond to its environment.
Does every recipe cure the same way?
Not quite. This is where experience matters.
A high-tallow recipe often cures into a firm, creamy bar with impressive longevity. Goat milk soaps, oat soaps, and bars with clays or botanicals can behave slightly differently depending on the full formula. Additives do not automatically make a soap harder or softer in the long term. The balance of fats, lye concentration, and water content still does most of the heavy lifting.
Essential oils can fade somewhat during cure. Natural colourants can soften or change tone. That is normal in artisan soapmaking and part of what makes a bar feel real rather than over-engineered.
If your goal is a hard, gentle, skin-supportive bar, traditional formulations often earn their place for good reason. At Luna Natural Soap Co., that slower, more deliberate approach sits at the heart of what makes a simple bar feel like a daily luxury rather than a throwaway basic.
Why curing is worth the wait
A well-cured soap is kinder to use and better value. It lasts longer in the shower, feels more balanced on the skin, and gives the sort of rich, satisfying lather people expect from a beautifully made bar.
That matters even more if you are choosing soap for dry, sensitive, or easily irritated skin. Harsh cleansing is rarely the answer. A thoughtfully formulated bar, given the time it needs, can feel far more supportive to the skin barrier.
So if you are asking how to cure cold process soap, the truest answer is this: give it air, give it space, and give it enough time to become what it was made to be. Good soap is not rushed, and your skin can tell the difference.